How To Install Ettercap Centos
Ettercap stands for Ethernet Capture.
This tutorial will guide you on how to perform a minimal installation of latest version of CentOS 7.0, using the binary DVD ISO image, an installation that is best suitable for developing a future customizable server platform, with no Graphical User Interface, where you can install only the software that you need.
Ettercap is a comprehensive suite for man in the middle attacks.
It features sniffing of live connections, content filtering on the fly and many other interesting tricks. It supports active and passive dissection of many protocols and includes many features for network and host analysis.
Download and Install
Download the install the Ettercap package from Ettercap.
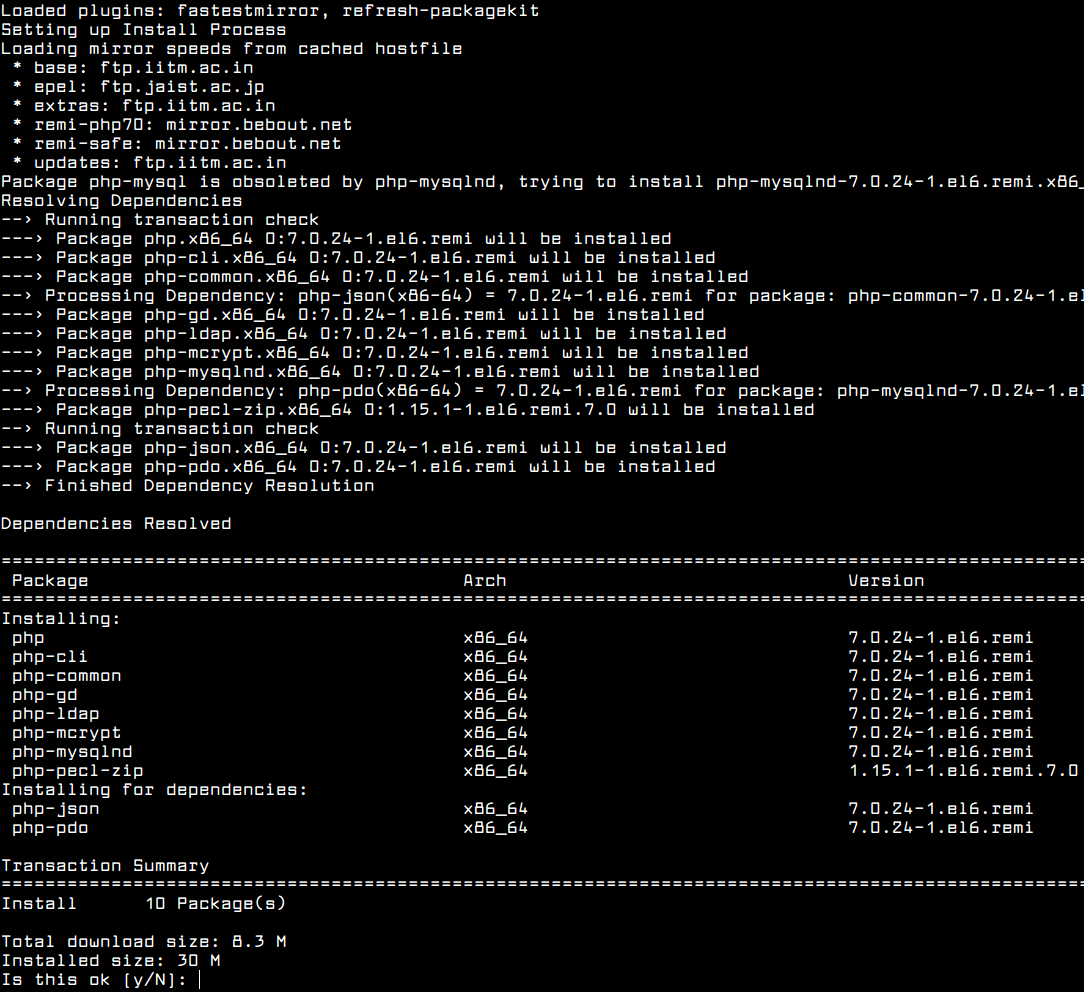
You can also install from the mirror as follows:
This article explains how to perform DNS spoofing and ARP poisoning using Ettercap tool in Local Area Network ( LAN ).
Warning: Do not execute this on a network or system that you do not own. Execute this only on your own network or system for learning purpose only. Also, do not execute this on any production network or system. Setup a small network/system for testing purpose and play around with this utility on it for learning purpose only.
Ettercap Basics
First let’s learn some basics about Ettercap. Ettercap has the following 4 types of user interface
- Text Only – ‘-T’ option
- Curses – ‘-C’ option
- GTK – ‘-G’ option
- Daemon – ‘-D’ option
In this article, we will mainly focus on the “Graphical GTK User Interface”, since it will be very easy to learn.
Launching an ARP Poisoning Attack
We have already explained about why we need ARP and the conceptual explanation of ARP cache poisoning in ARP-Cache-Poisoning. So please have a look into it, and this article will cover how to perform it practically.
The following diagram explains the network architecture. All the attacks explained here will be performed on the following network diagram only. Using Ettercap in a production environment is not advisable.
Launch Ettercap using the following command in the 122 machine.
Click “Sniff->Unified Sniffing”. It will list the available network interface as shown below. Choose the one which you want to use for ARP Poisoning.
Once you have chosen the interface the following window will open:
The next step is to add the target list for performing the ARP poisoning. Here we will add 192.168.1.51 and 192.168.1.10 as the target as follows.
Click “Hosts->Scan for Host”.
It will start to scan the hosts present in the network.
Once it is completed, click “Hosts->Host List”. It will list the available hosts in the LAN as follows:
Now among the list, select “192.168.1.51” and click “Add to Target 1” and select “192.168.1.10” and click “Add to Target 2”.
Now select “Mitm->Arp Poisoning” as follows:
The following dialog box will open. Select “Sniff Remote Connection” and click “ok”:
The Media Feature Pack for Windows 7 N or Windows 7 KN will install Media Player and related technologies on a computer running Windows 7 N or Windows. Download Movie Maker for Windows 7. Free and safe download. Download the latest version of the top software, games, programs and apps in 2018. If you want the version that works with Windows 10, then you need the other version of the Movie maker. There is a version that was created for Windows 7,. Window movie maker window 7. Windows Movie Maker 2018 Version Download and Windows Movie Maker Classic Version Download. For your Windows 7/8/10/XP/Vista.
Then click “Start->Start Sniffing as follows:
Ease audio converter 5.30 keygen. Now Arp is poisoned, i.e, 122 machine starts to send ARP packets saying “I’m 1.10”. In-order to verify it, From 192.168.1.51 “ping 192.168.1.10”. Open “Wireshark” application in 192.168.1.122 machine, and put a filter for ICMP. You will get the ICMP packets from 192.168.1.51 to 192.168.1.10 in 192.168.1.122 as follows:
Launching DNS Spoofing Attack in LAN
The concept of DNS is as follows.
- Machine A said ‘ping google.com’
- Now it has to find that IP address of google.com
- So it queries the DNS server with regard to the IP address for the domain google.com
- The DNS server will have its own hierarchy, and it will find the IP address of google.com and return it to Machine A
Here we will see how we can spoof the DNS.
There are many plugins which comes by default with EtterCap. Once such plugin is called as DNSSpoof. We are going to use that plugin to test the DNS spoofing.
Open the /usr/share/ettercap/etter.dns in the 122 machine and add the following,
Here, 192.168.1.10 acts as the DNS server. In-order to perform DNS spoofing, first we need to do the ARP poisoning as explained above. Once ARP is done, follow the below steps
Click “Plugins->Manage Plugins” as follows:
Select the “dns_spoof” plugin and double click to activate it as follows:
Now from 192.168.1.51 ping google.com
You can see that it returns a local machine’s IP address which we have given in the configuration.
Hope this articles provides some insight into ARP Poisoning and DNS Spoofing. Once everything is done, remember to stop MITM attack as follows:
Finally, it doesn’t hurt to repeat the warning again. Do not execute this on a network or system that you do not own. Setup a small network/system for testing purpose and play around with this utility on it for learning purpose only.
If you enjoyed this article, you might also like.
I'm trying to get ettercap-gtk installed on osx but am having little luck. Getting ettercap without the GUI installed was no problem. When I try with macports I get the following:
Any and all help is appreciated. Thanks.
1 Answer
Ettercap can be installed now on Mac via brew.
How To Install Ettercap Kali Linux


Make sure you have brew installed: https://brew.sh/
Install Ettercap: brew install ettercap --with-gtk+
